What for?
CRXN is an IPv6-only community run network that operates in the fd00::/8 space. Everyone can come and peer and start routing for others and/or running their own services they want to make available to the network. So in this blog post you will get to see what my setup (in my room) looks like. I have another post where I show what my network lab in the garage looks like (which is where I do all my CRXN routing and run the my lockdown.bnet BNET IRC node).
My setup currently
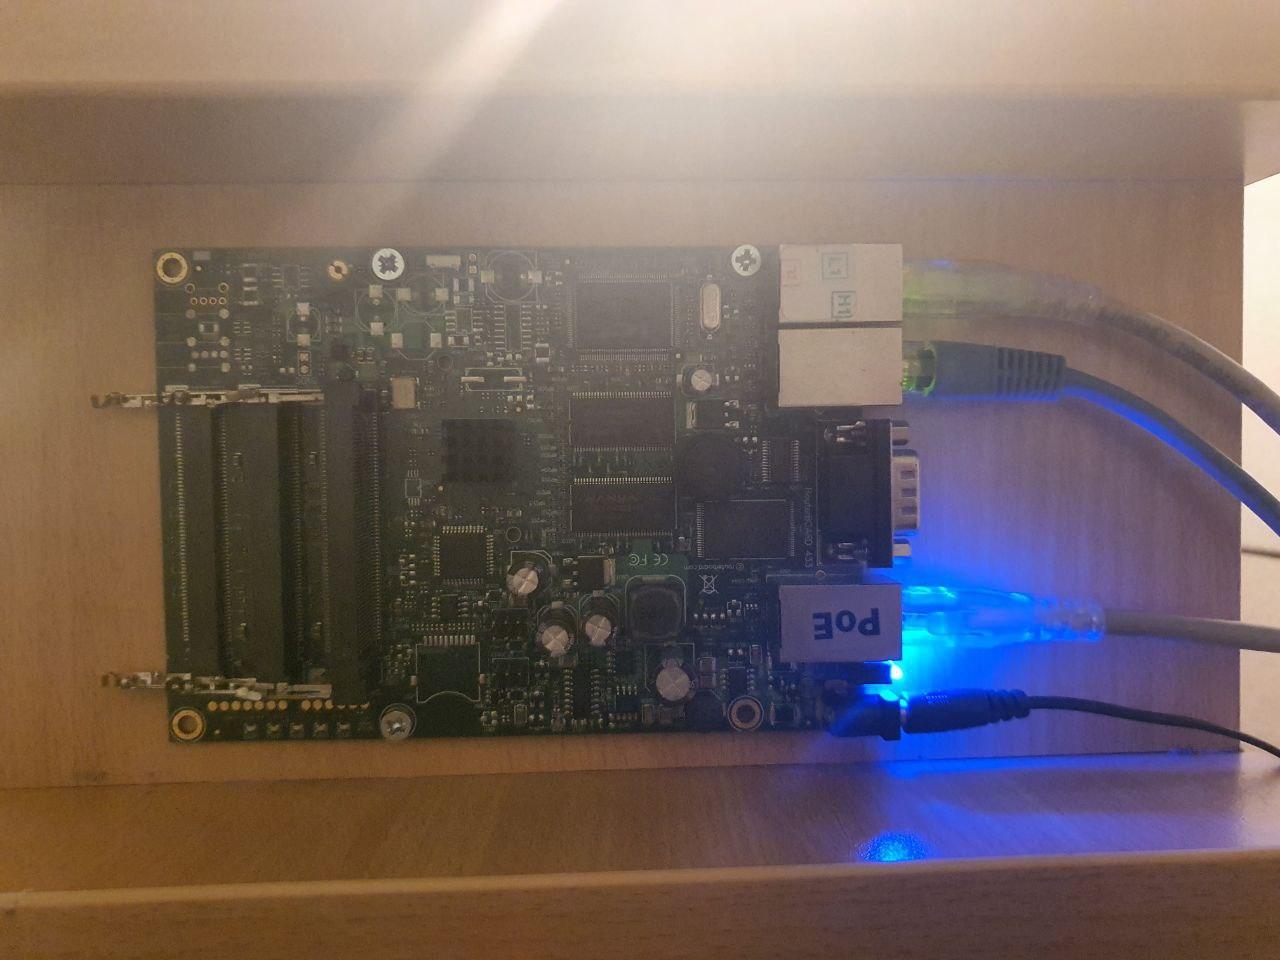
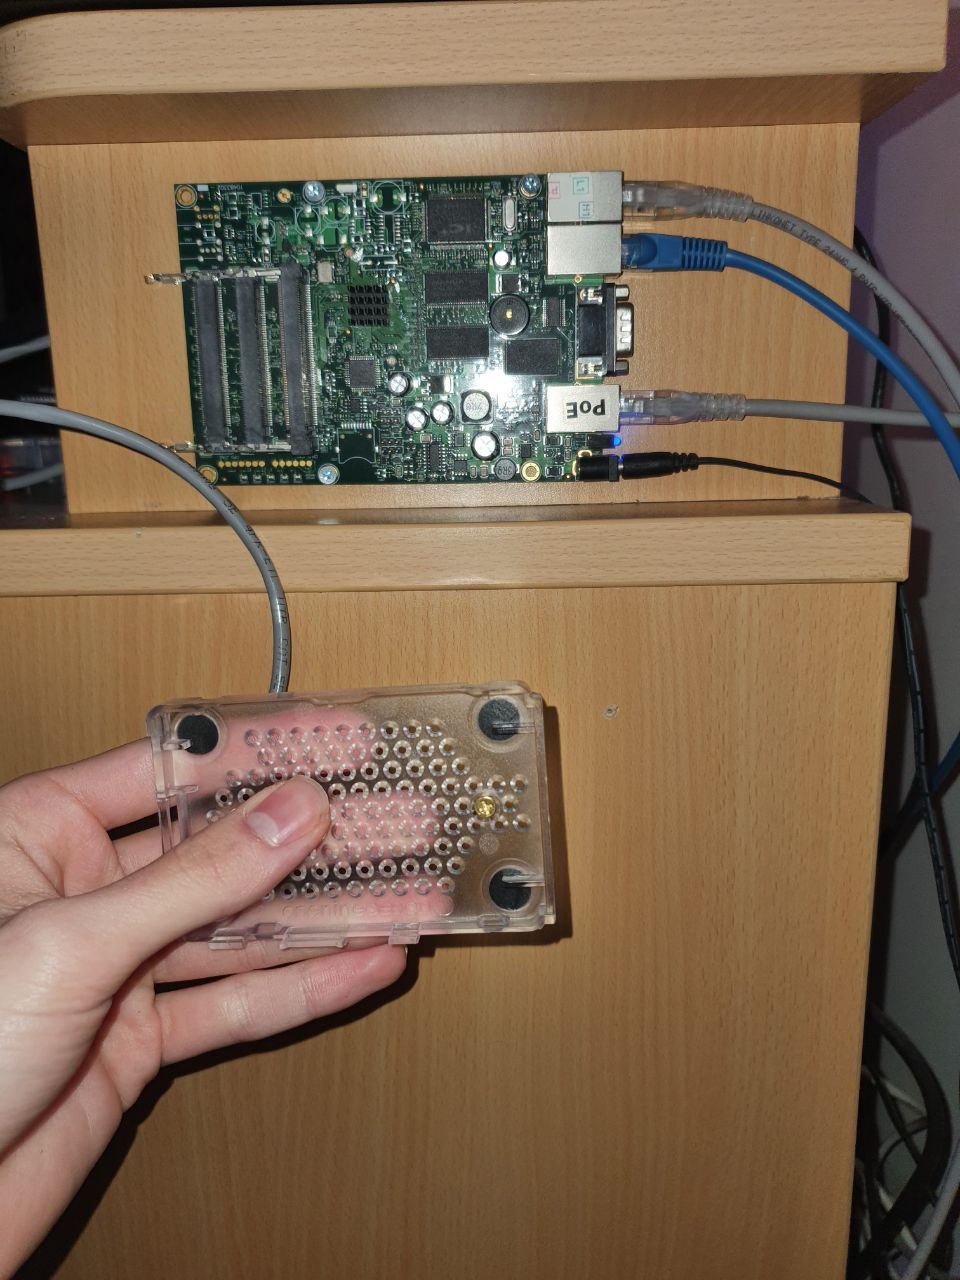
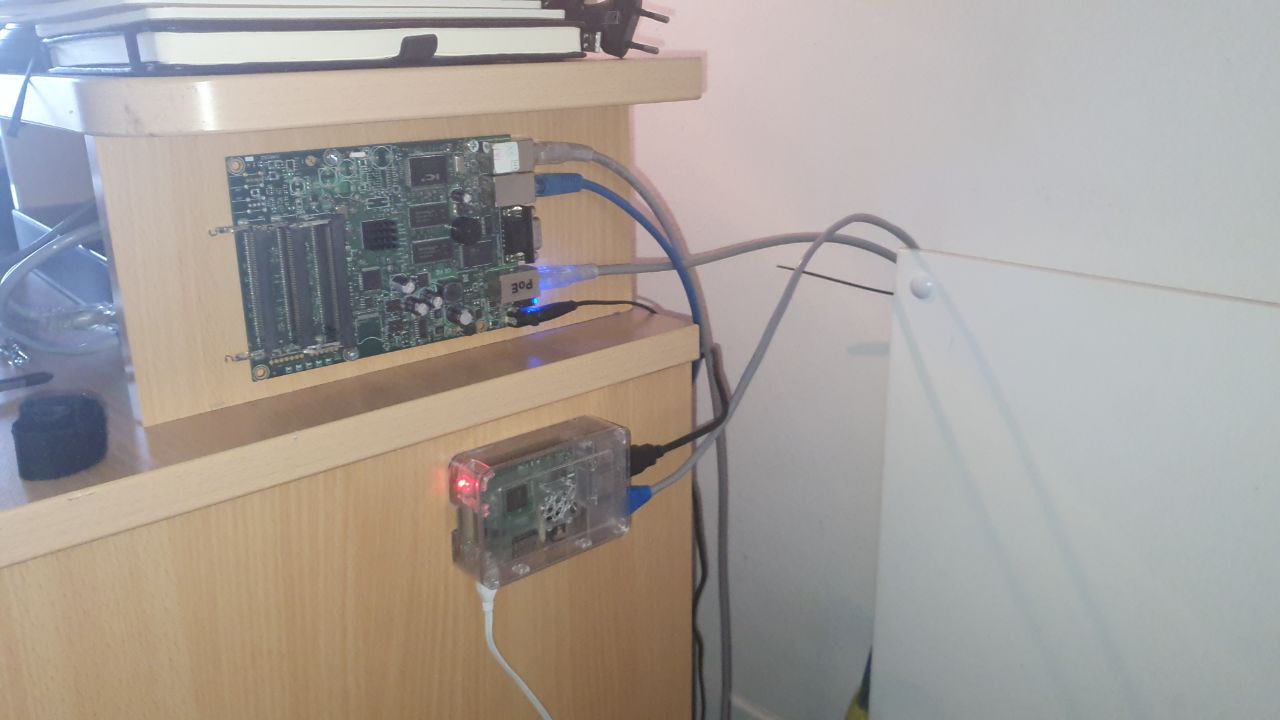
My current setup has this big 16-port unmanaged ethernet switch which connects to the rest of my home network via a bridged LAN port on my Mikrotik (both shown below).
The Pi I want to mount on the side using the feet mounts as shown:
So I am going to now take this Pi and mount it, luckily it has a very nice case that makes mounting very easy:
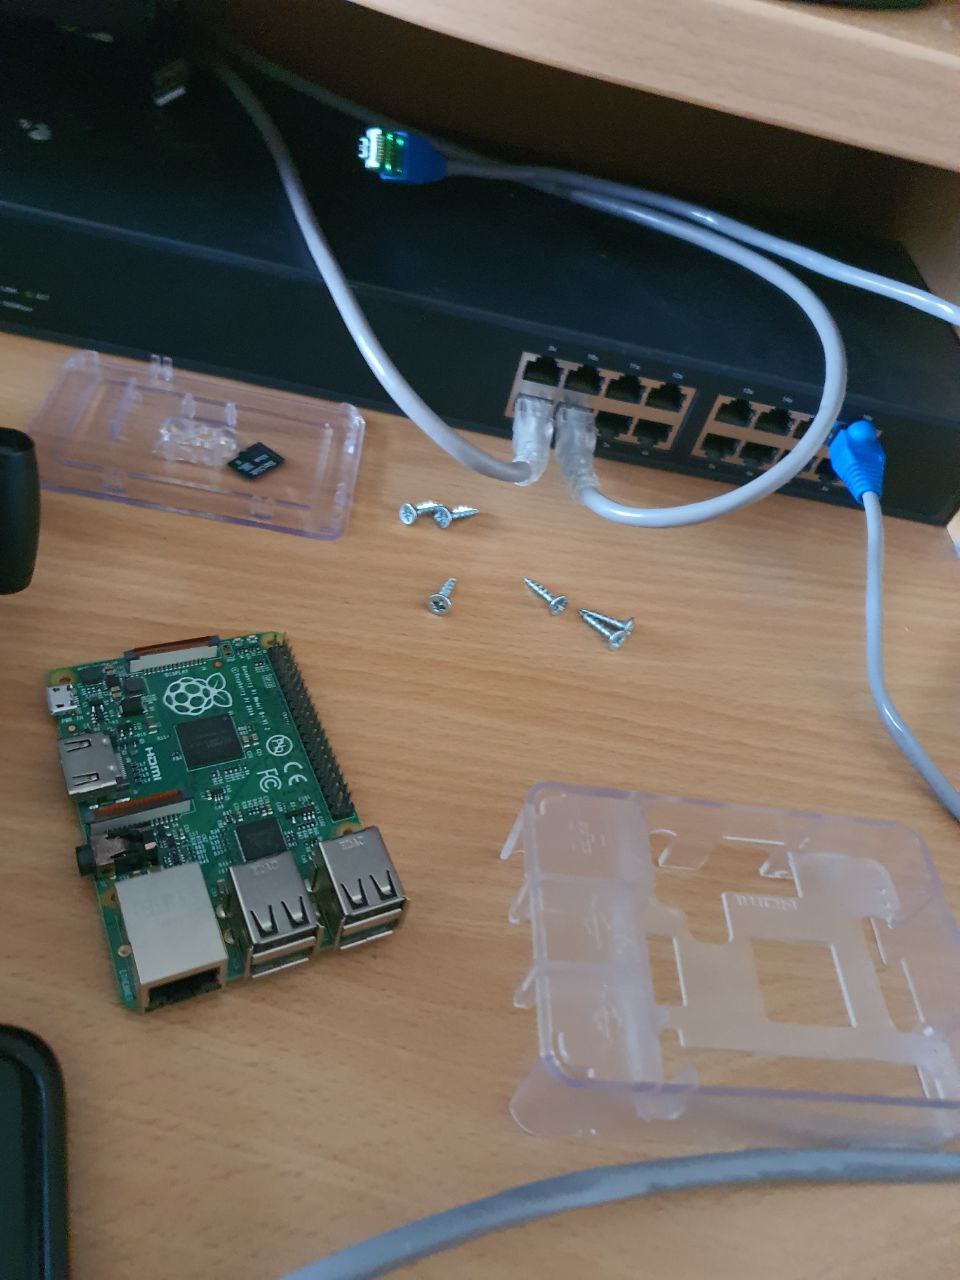
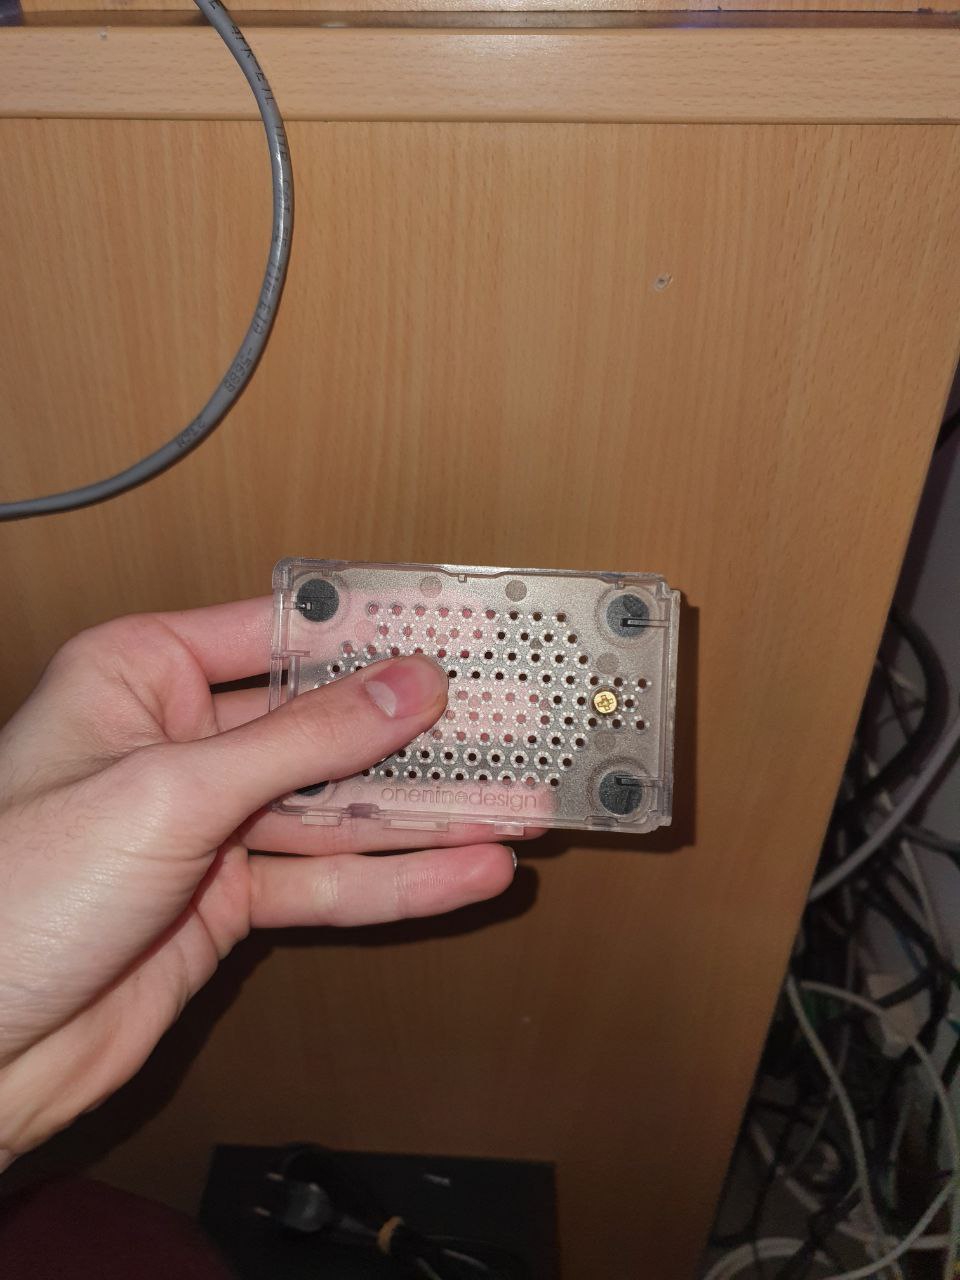
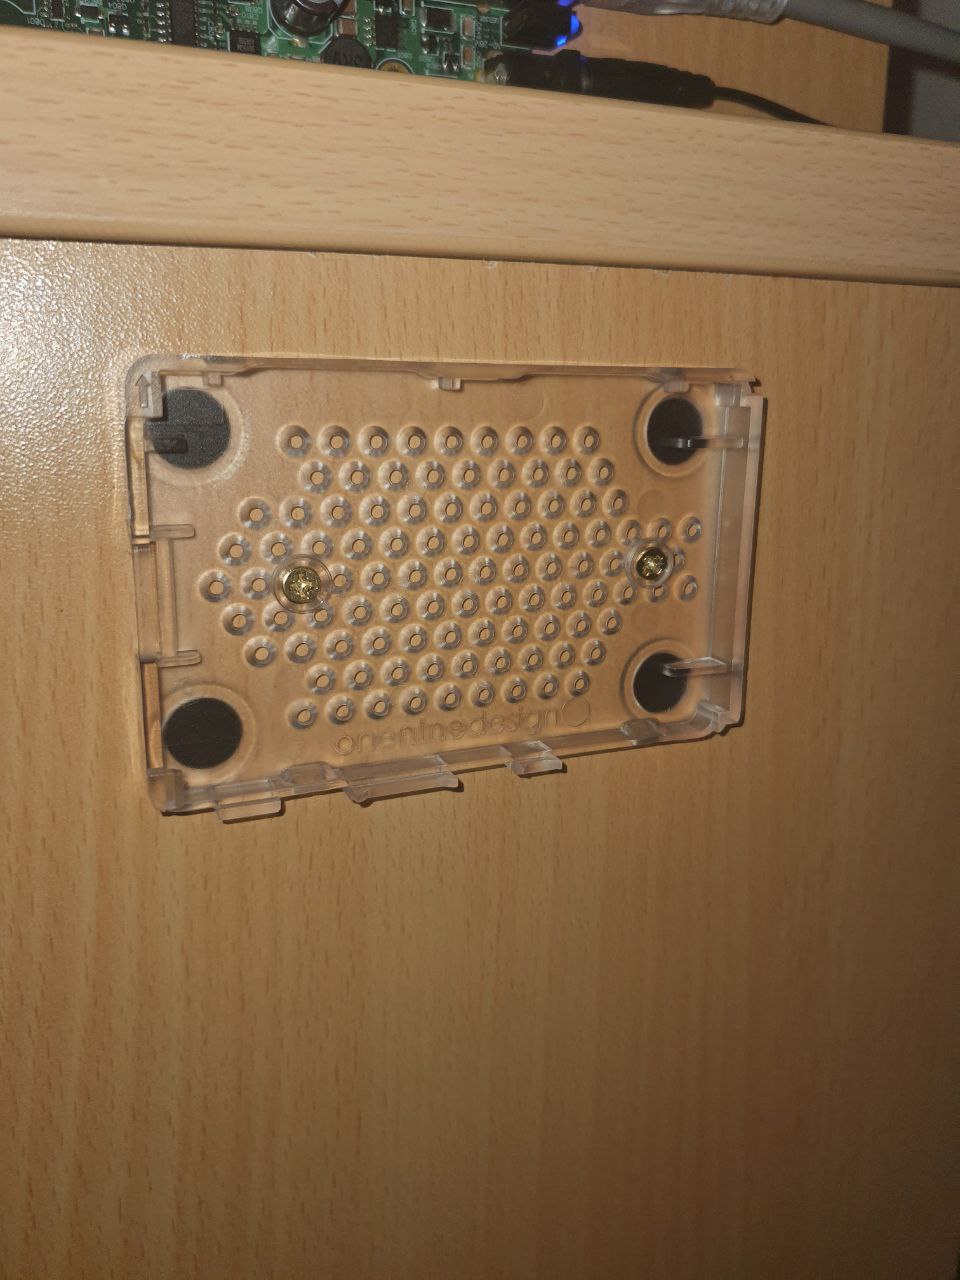
As you can see you only need to put some screws through here:
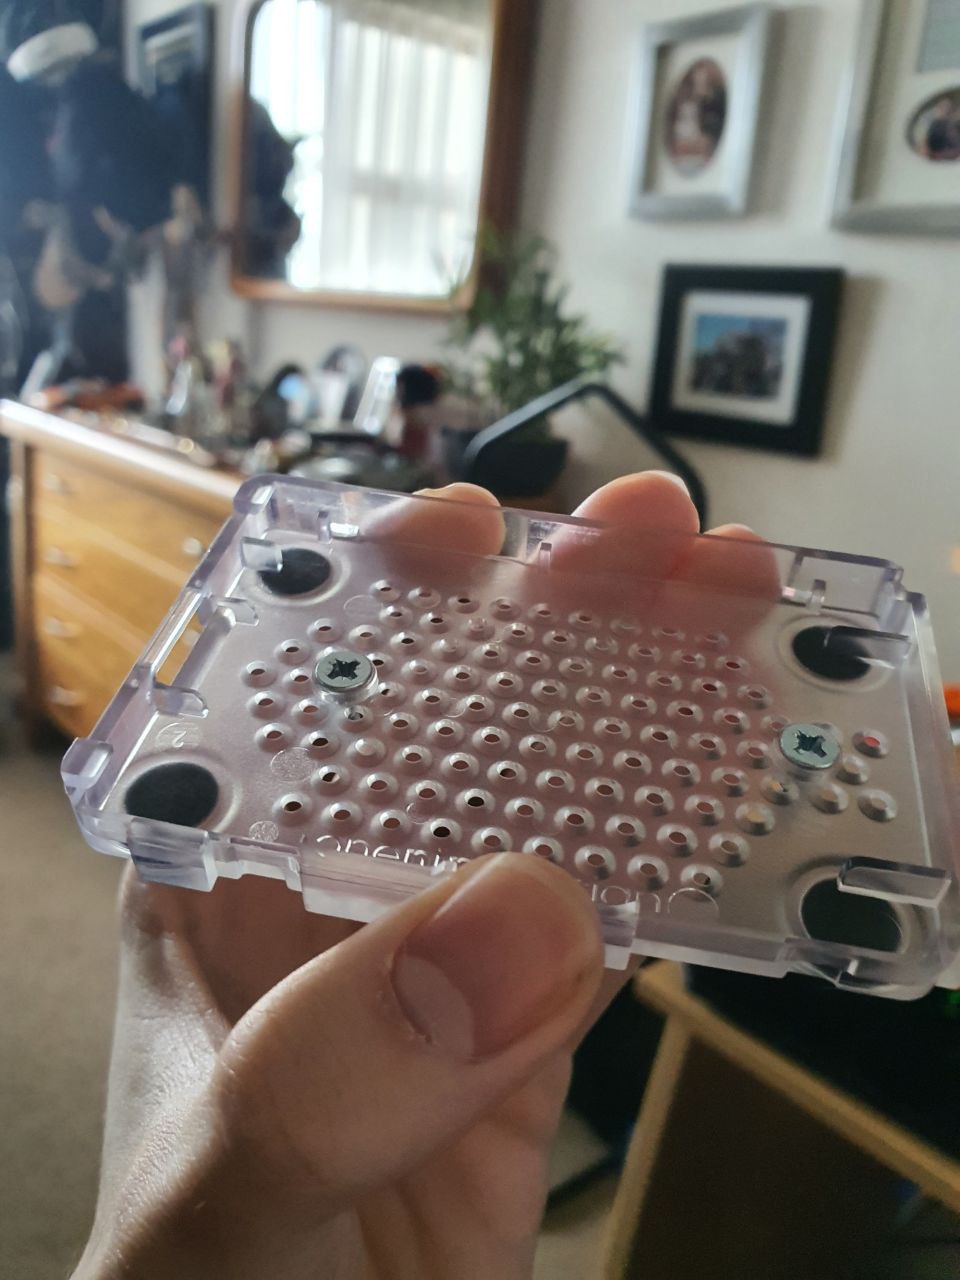
It was problematic using these screws though, as they went deep but there is always a little non-perfection when it comes to screwing these thins in which makes them go in at an angle and therefore the little gap between this screw and my pi would be too small and would short it. So I needed to go smaller and got these screws instead:
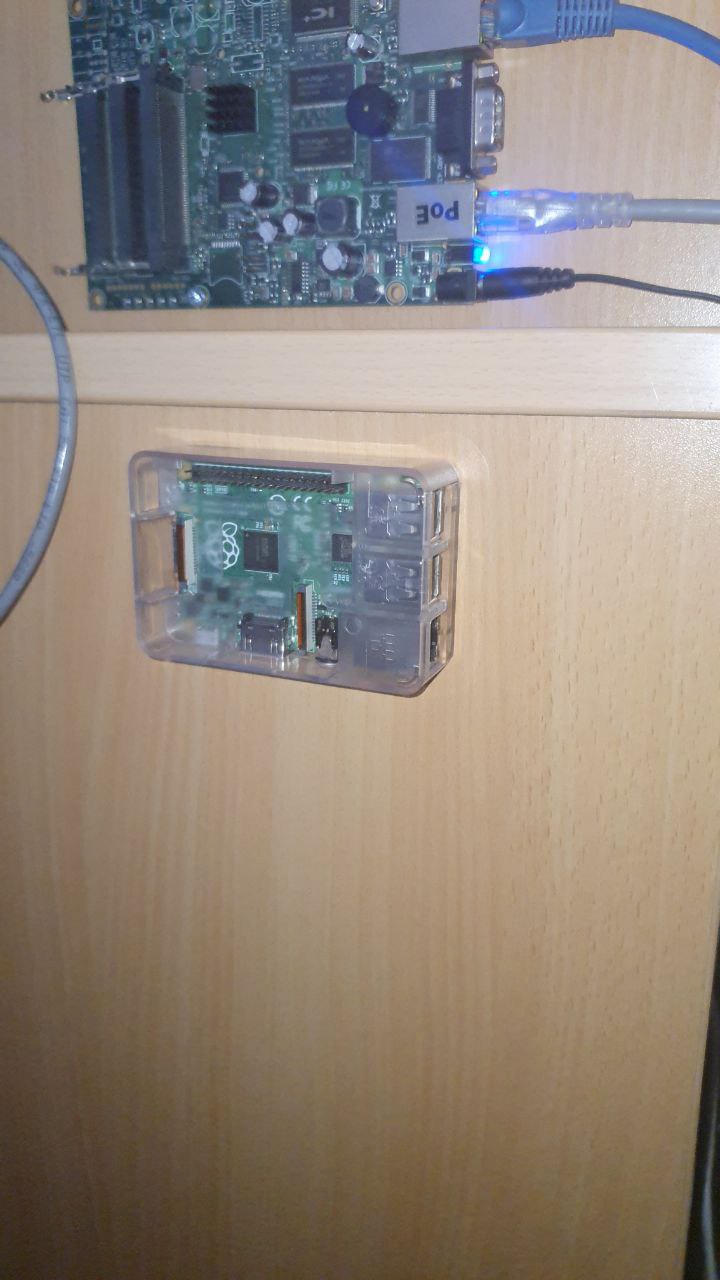
I would like to place this beneath my Mikrotik right about here:
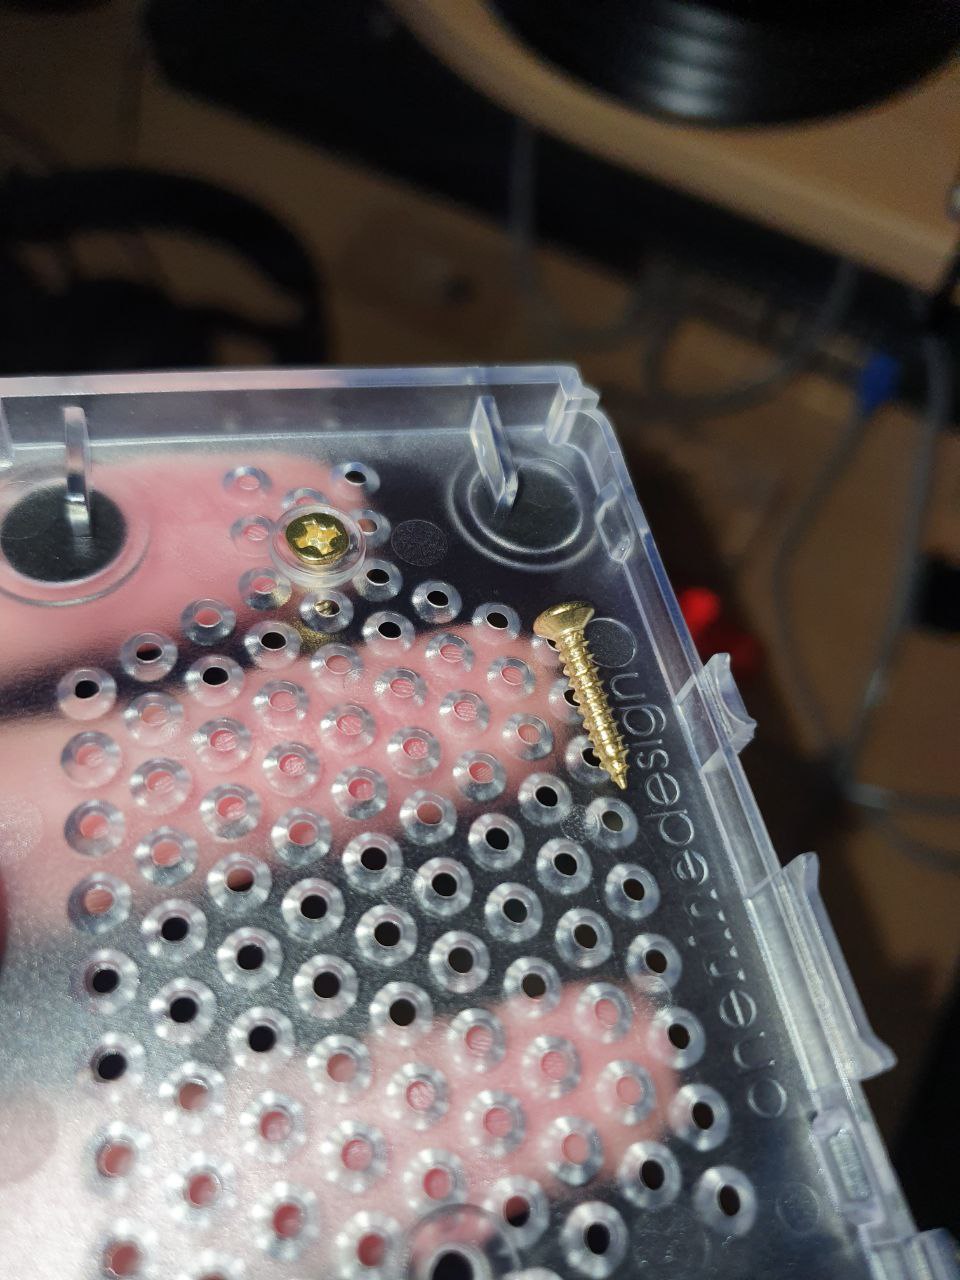
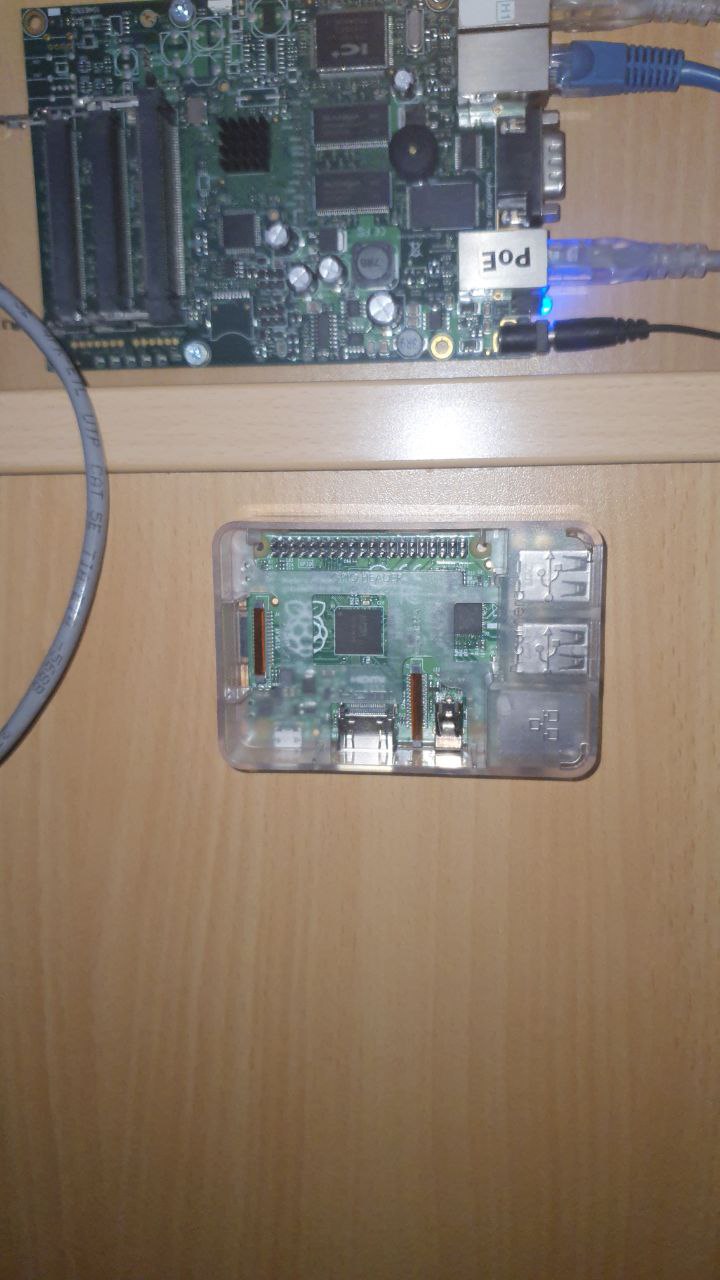
And it went in pretty easy with those small screws:
What I did to make the holes is sto use the big screws first to make a hole and then I unscrew them and screw the small ones in:
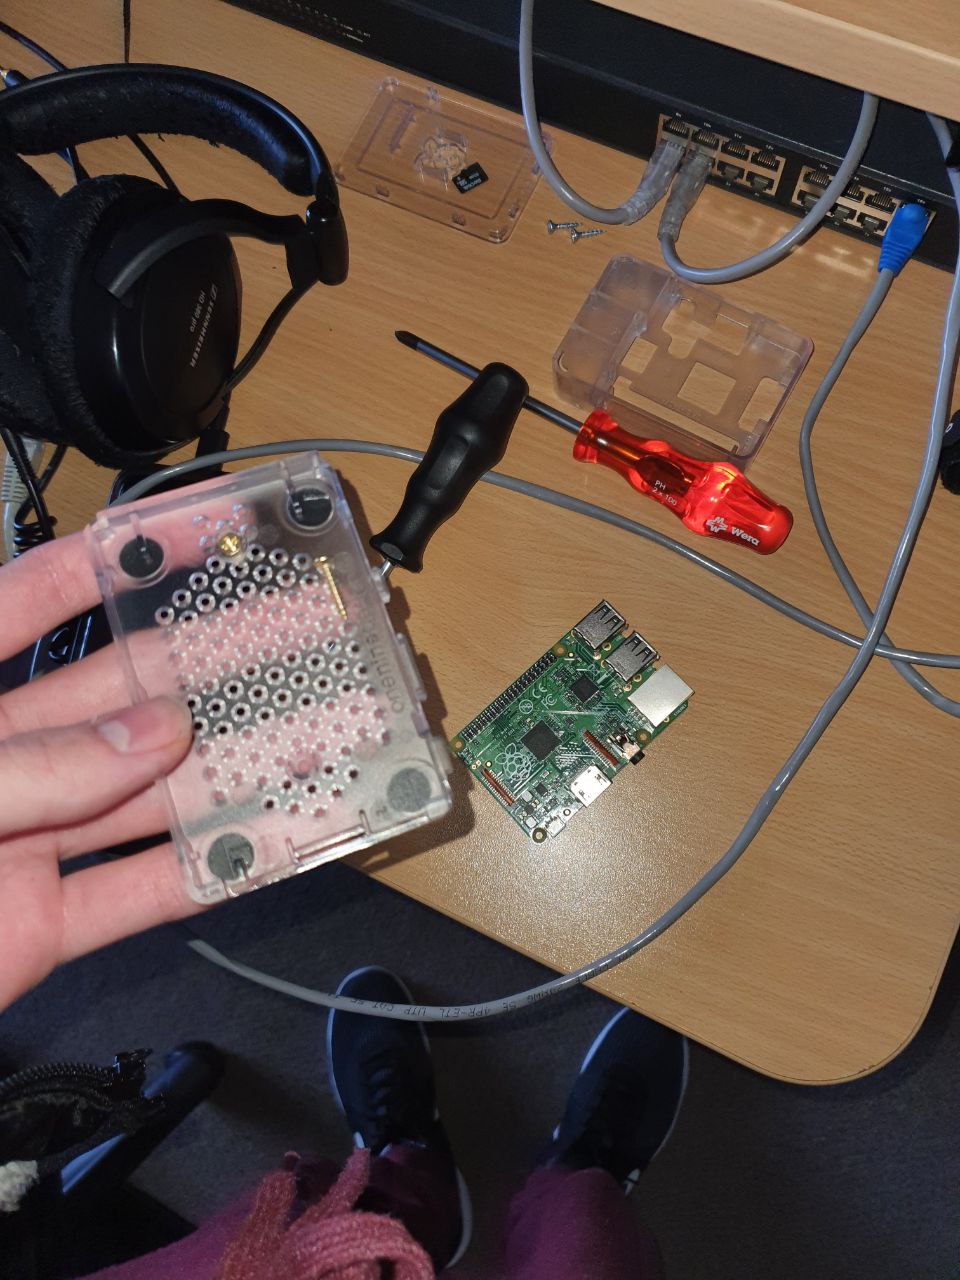
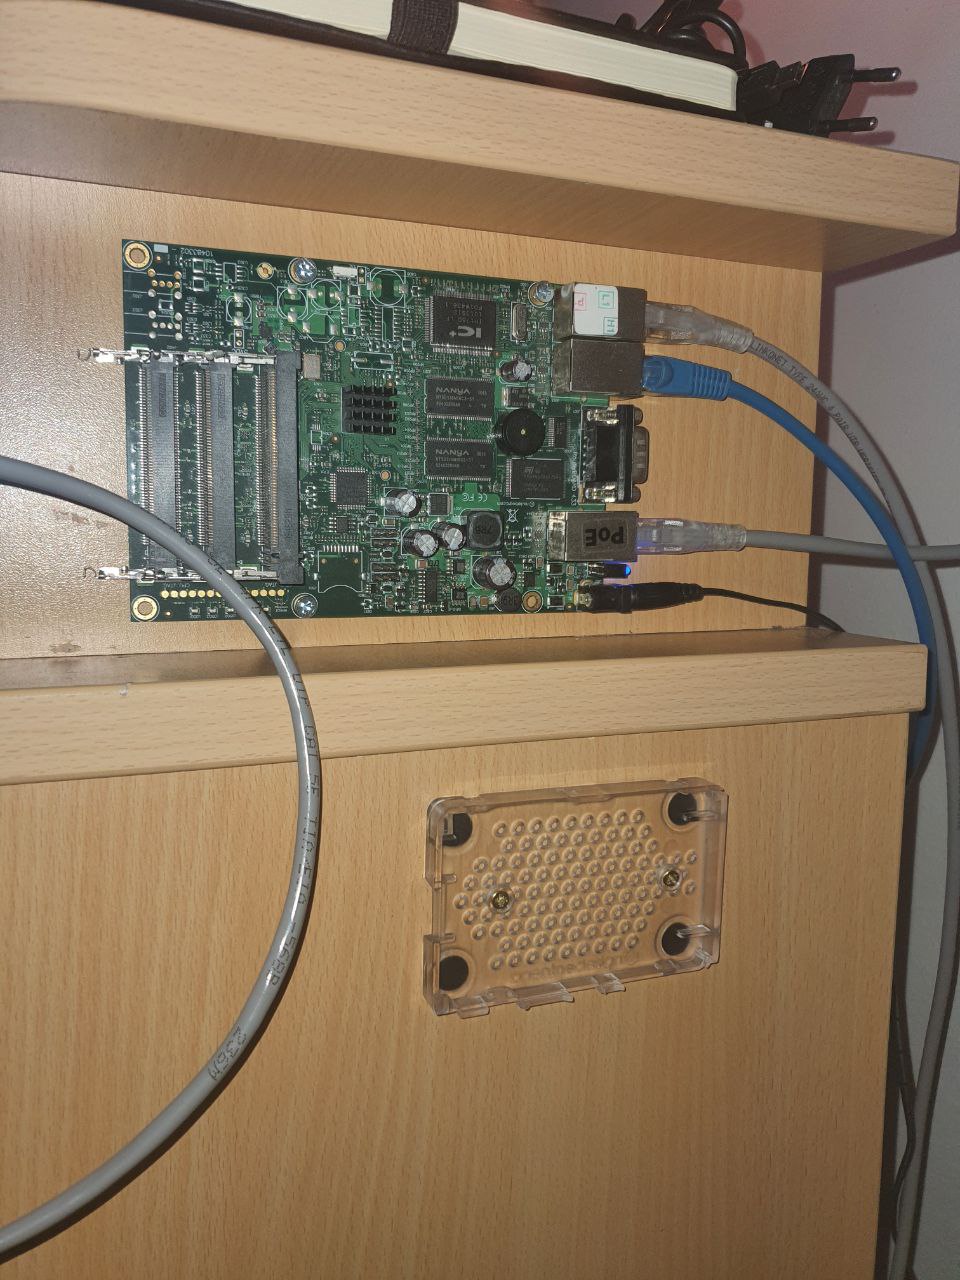
And now it is mounted:
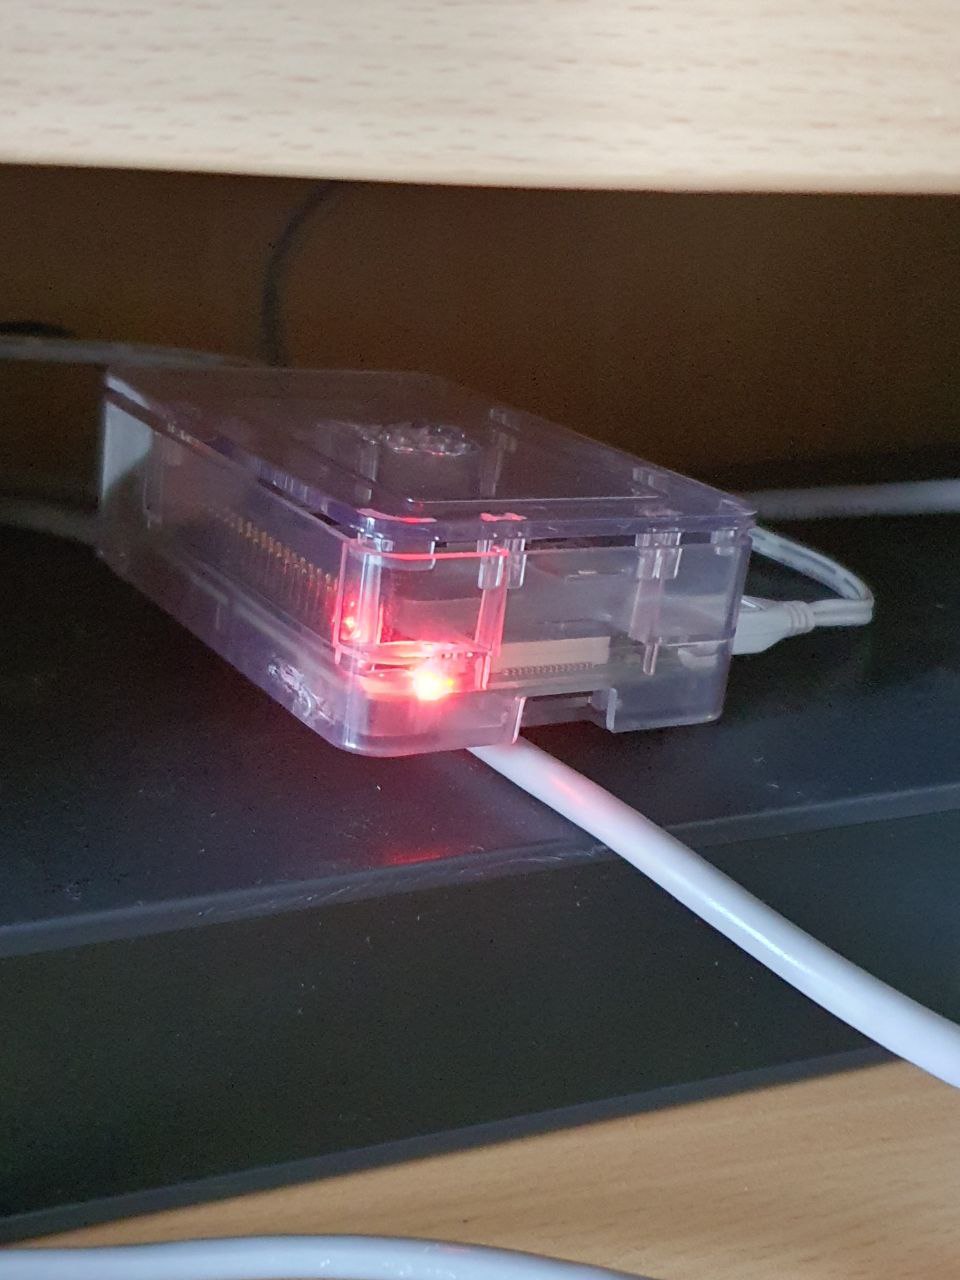
Here I put the case back on (it’s a 3 part case, you clip the board into the base which we screwed into the wood earlier) and then put the main shrowd over it which holds the pi in its place using clips), the third part is the lid you probably saw earlier (with the raspberry pi logo):
Some more photos of it:
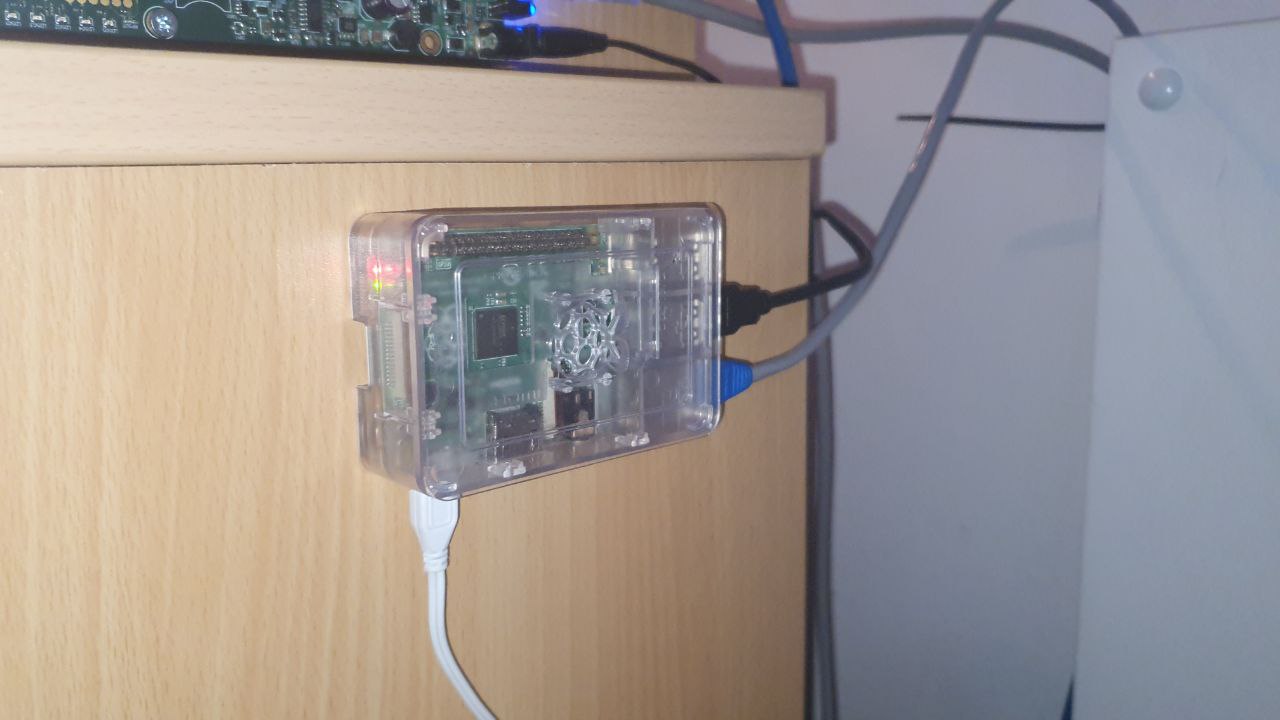
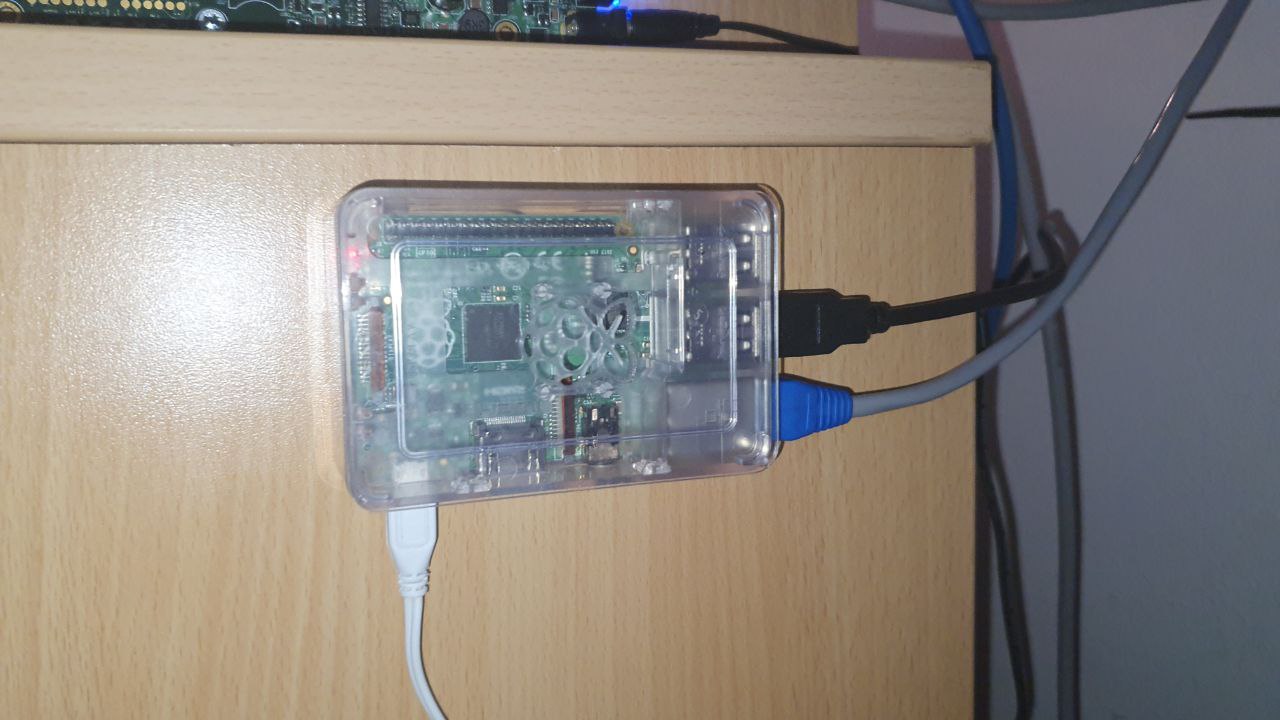
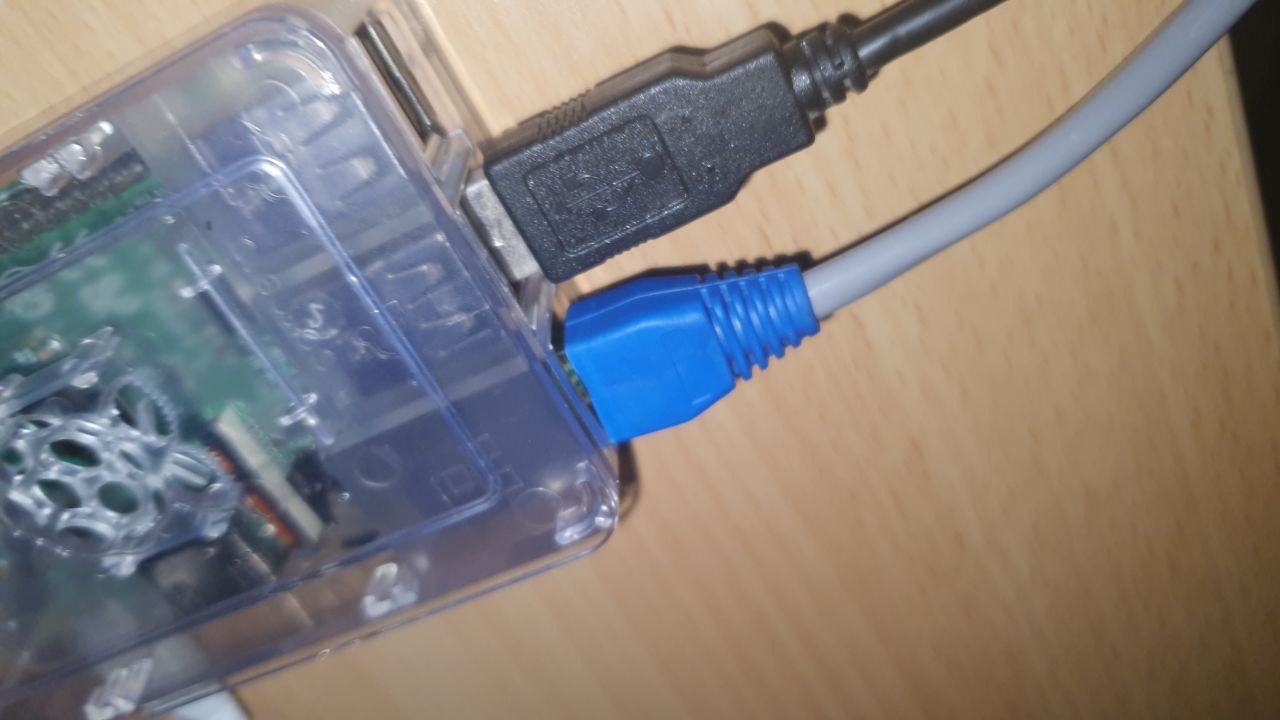
And here I have the Ethernet connected along with the USB to the USB powered hub I use to power the external HDD where my site’s contents are stored on:
So now that’s all done let’s move onto the next thing:
And here’s a video of it:
Let’s screw some more stuff up
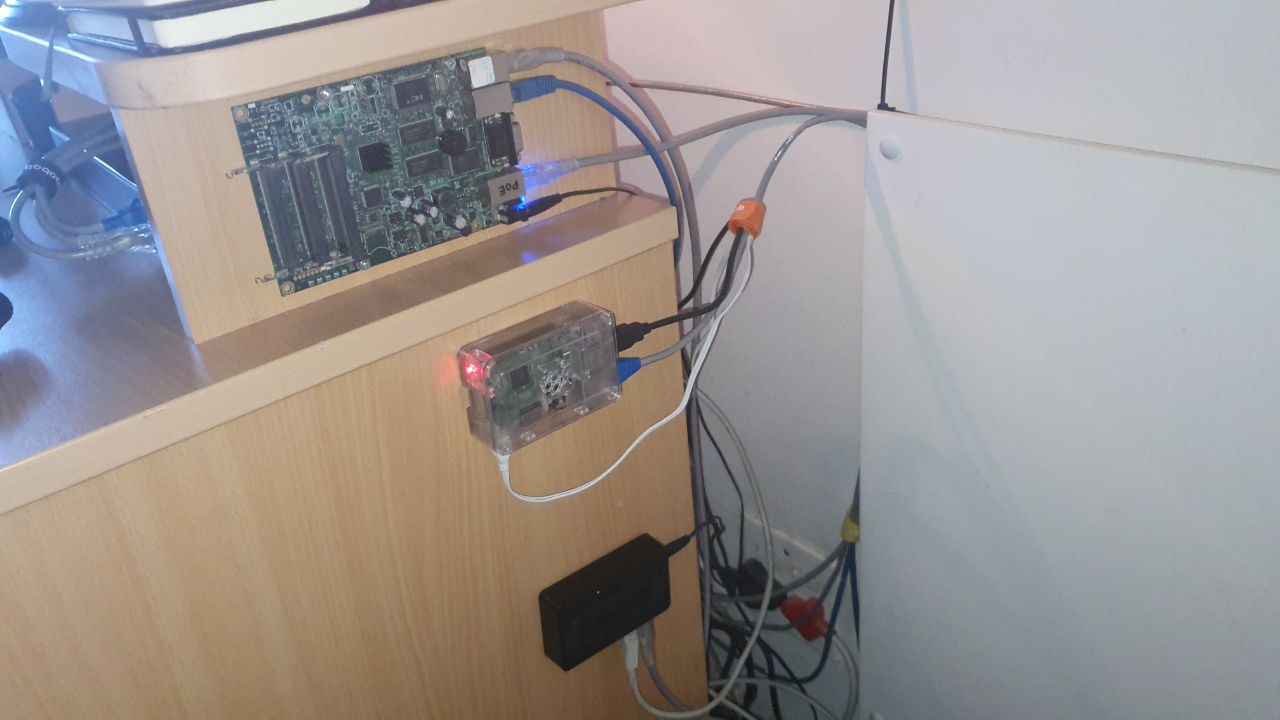
I also decided I should put my switch on so I did that too (this one connects my LAN to the bigger switch up top):

And now it’s all done:
The rest of the things
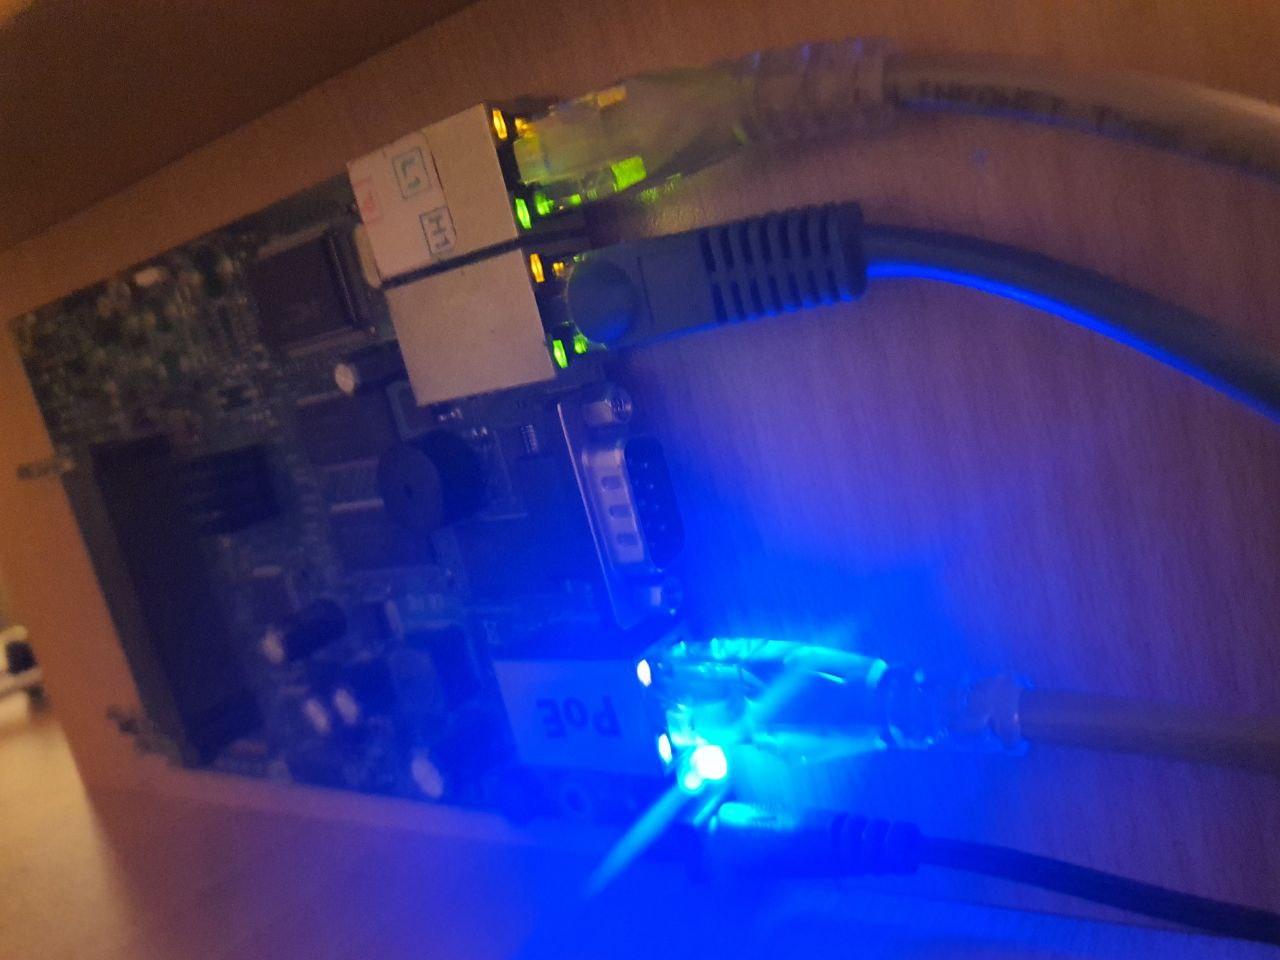
And here is the Mikrotik that I run everything through which is bridging on ether1 and ether2 whilst ether3 is running IPv6-only with RouterAdvertisements (so that hosts can get online for IPv6 clearnet and CRXN via SLAAC).